Projects

Woodworking • 2023

Built-In Shelving

The Project

Floor-to-ceiling built-ins, built from scratch

Krista wanted built-in shelving in the new house — floor to ceiling, with cabinet storage below and open shelves above. I wanted to build it myself. Neither of us fully understood what we were signing up for, but a few months later we had something better than anything you could buy.

The shelves were designed in SketchUp, built in our Cambridge garage, painted with Benjamin Moore Advance, transported 45 minutes to the new house, and assembled on-site around a structural corner. Here's how it went.

Material
Paint grade maple plywood
Paint
Benjamin Moore Advance
Build Location
Cambridge garage
New Skill
Shaker door frames
Cut pieces staged with plans on the wall

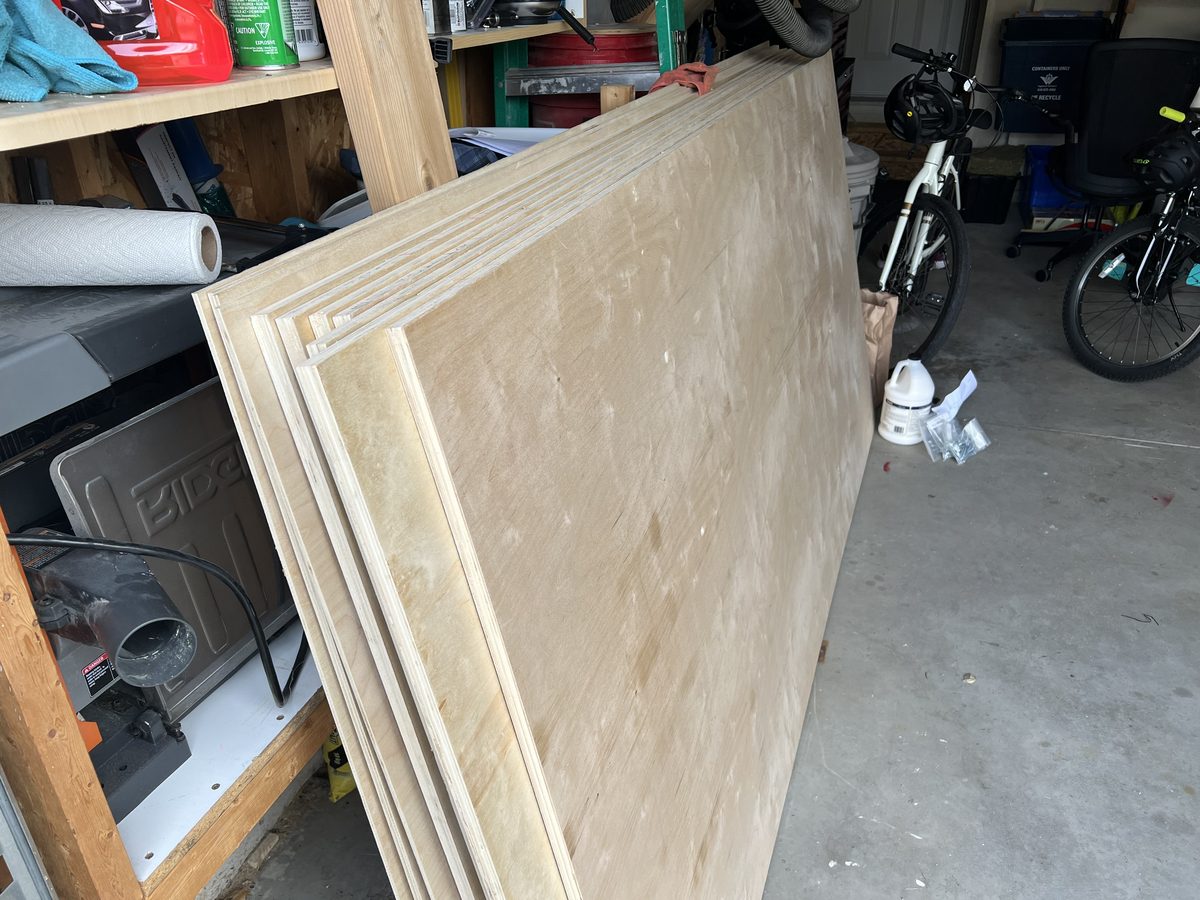
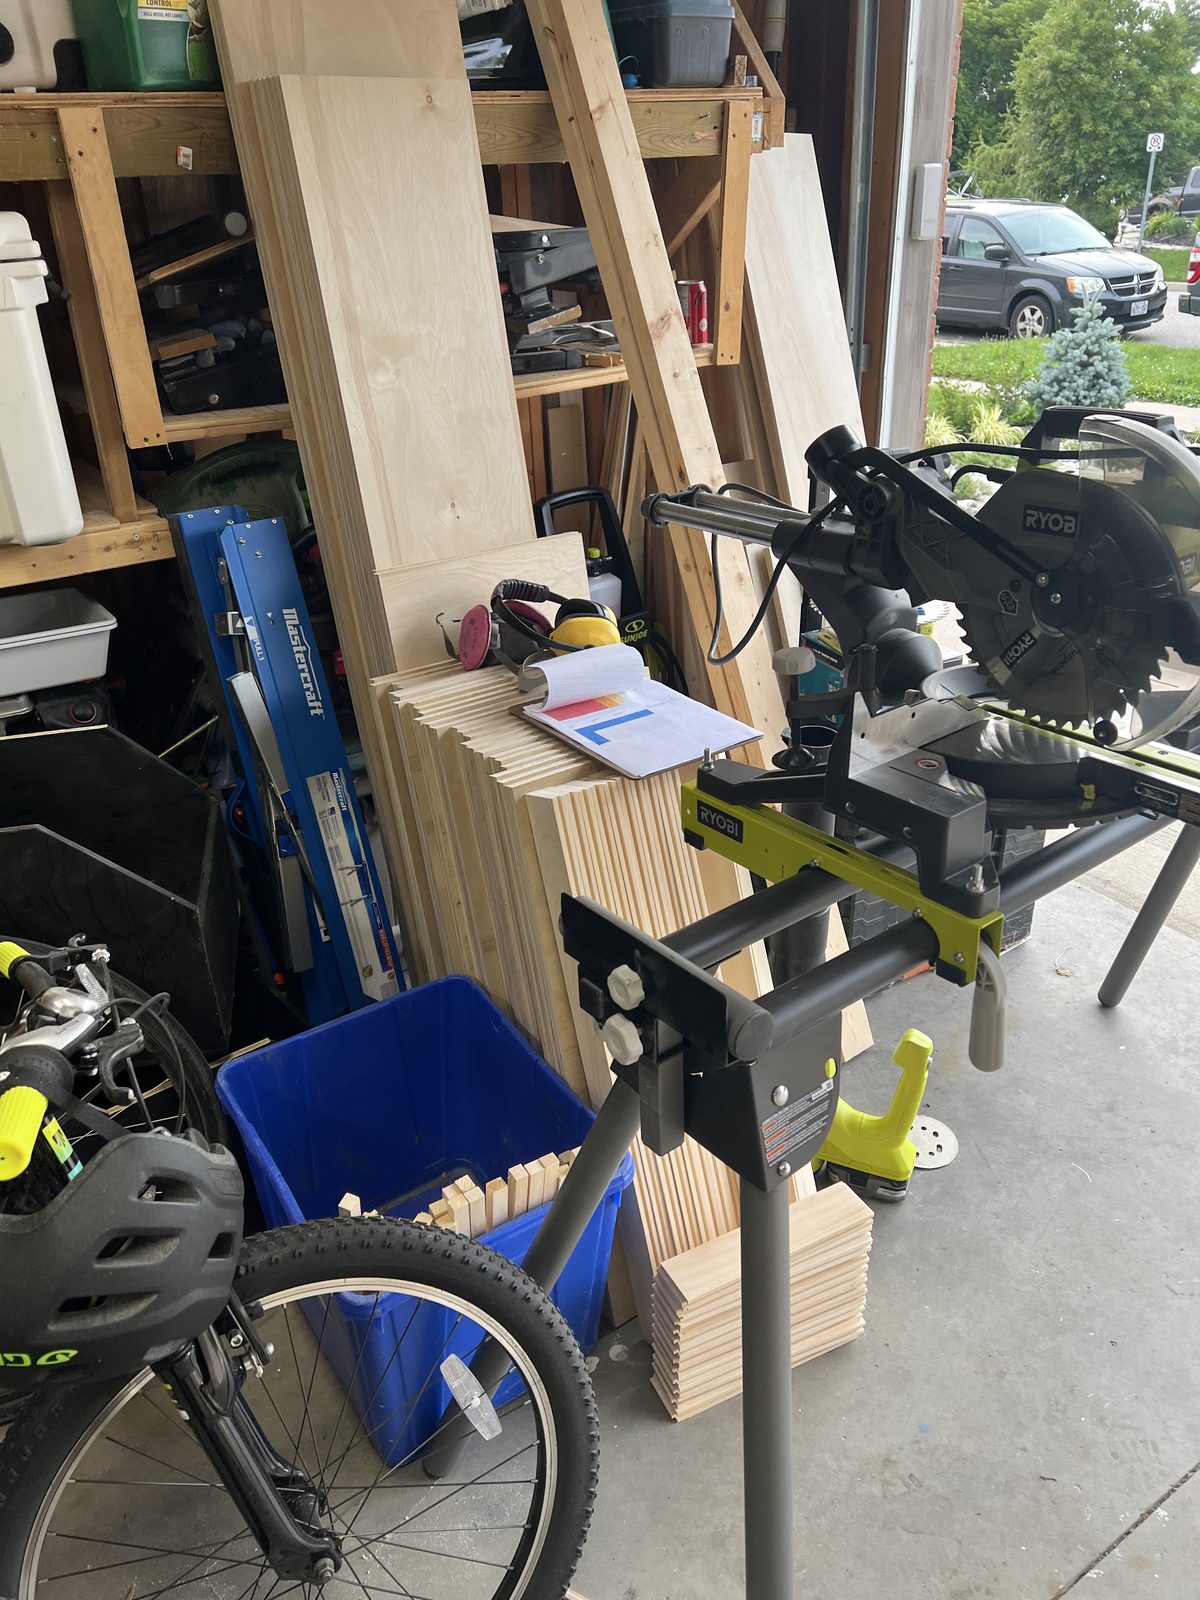
Pieces cut, staged, and sorted by cabinet — plans on the wall behind.

Phase 01

Design & Planning

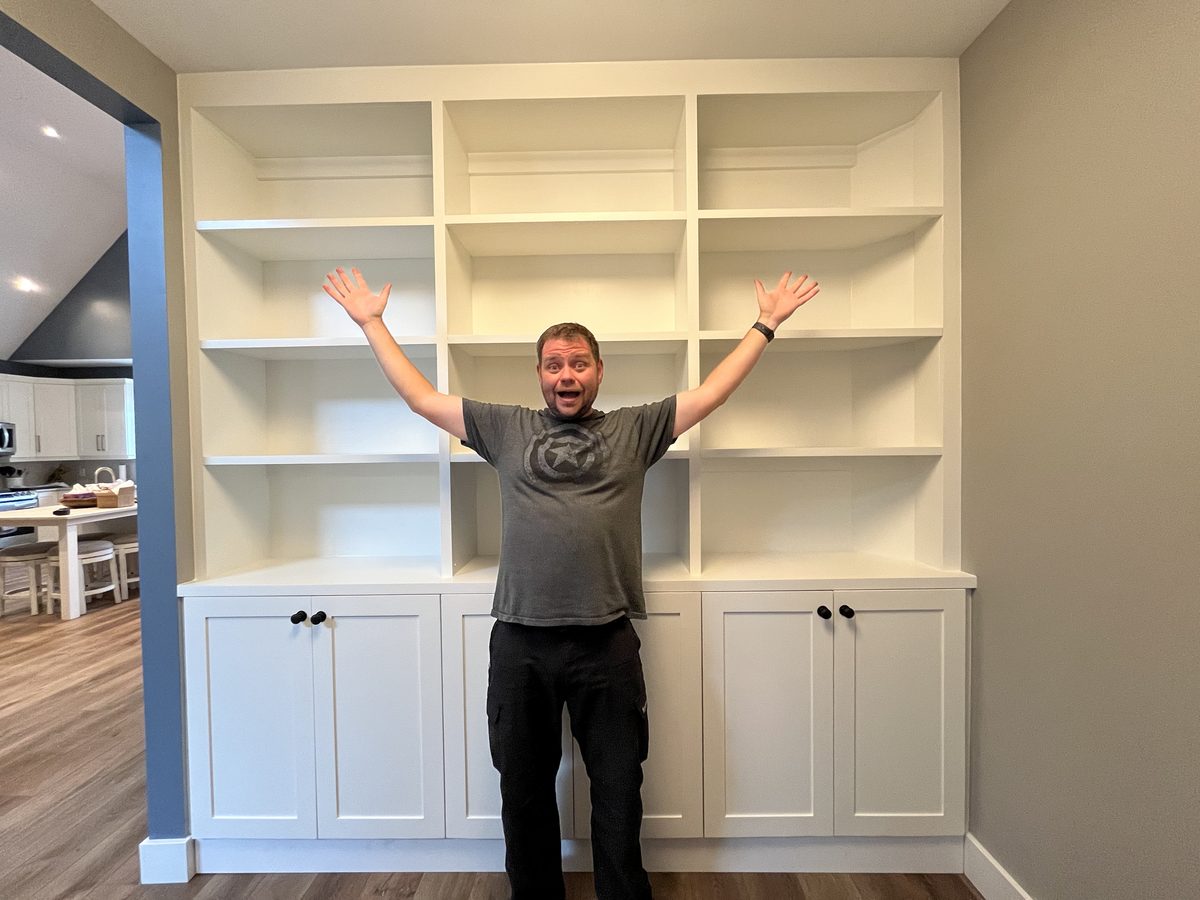
Before touching a single sheet of plywood, I modelled the whole thing in SketchUp. Krista and I went back and forth on proportions — how tall, how deep, where the division between cabinet and open shelves would land.

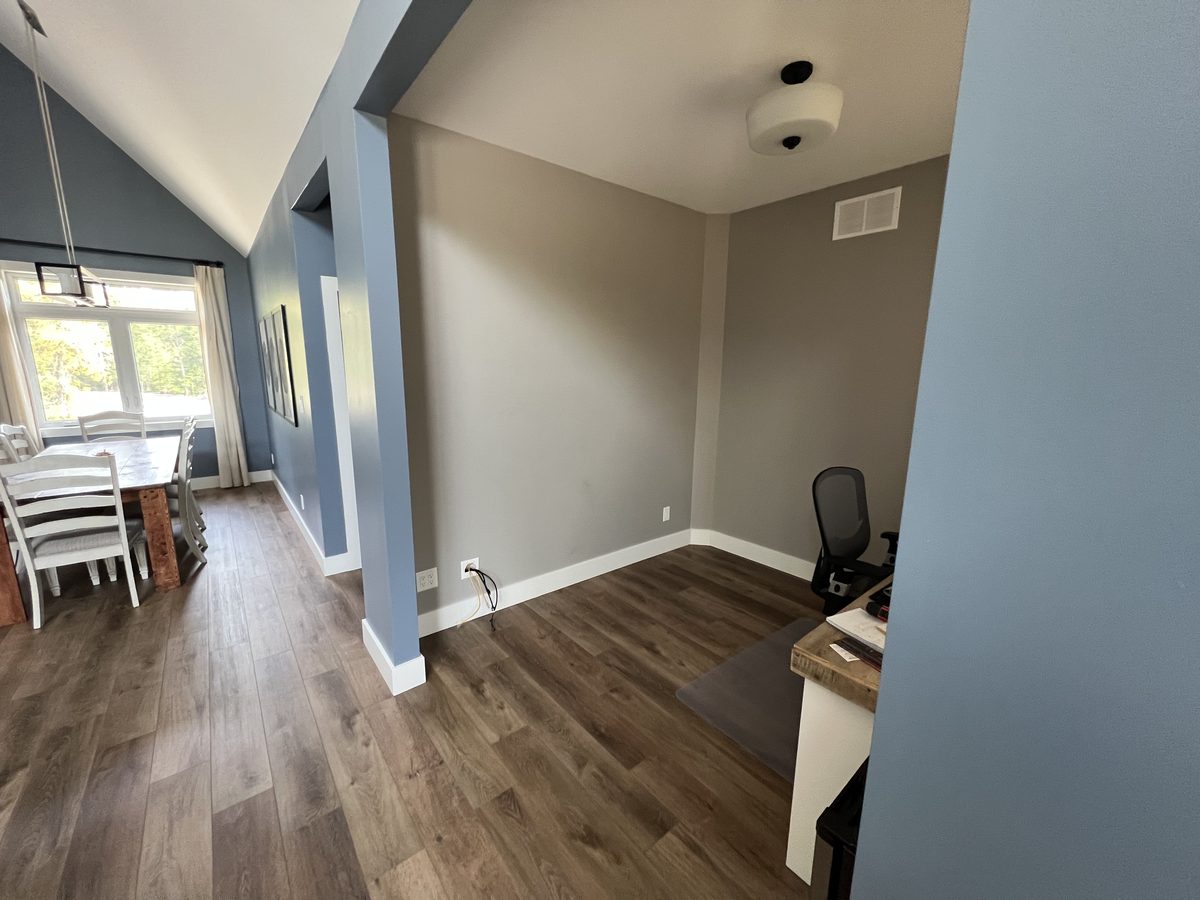
The room had a structural corner post wrapped in drywall that the unit would have to work around. That corner ended up being one of the harder problems to solve, but planning it in 3D ahead of time saved me from discovering it mid-build.

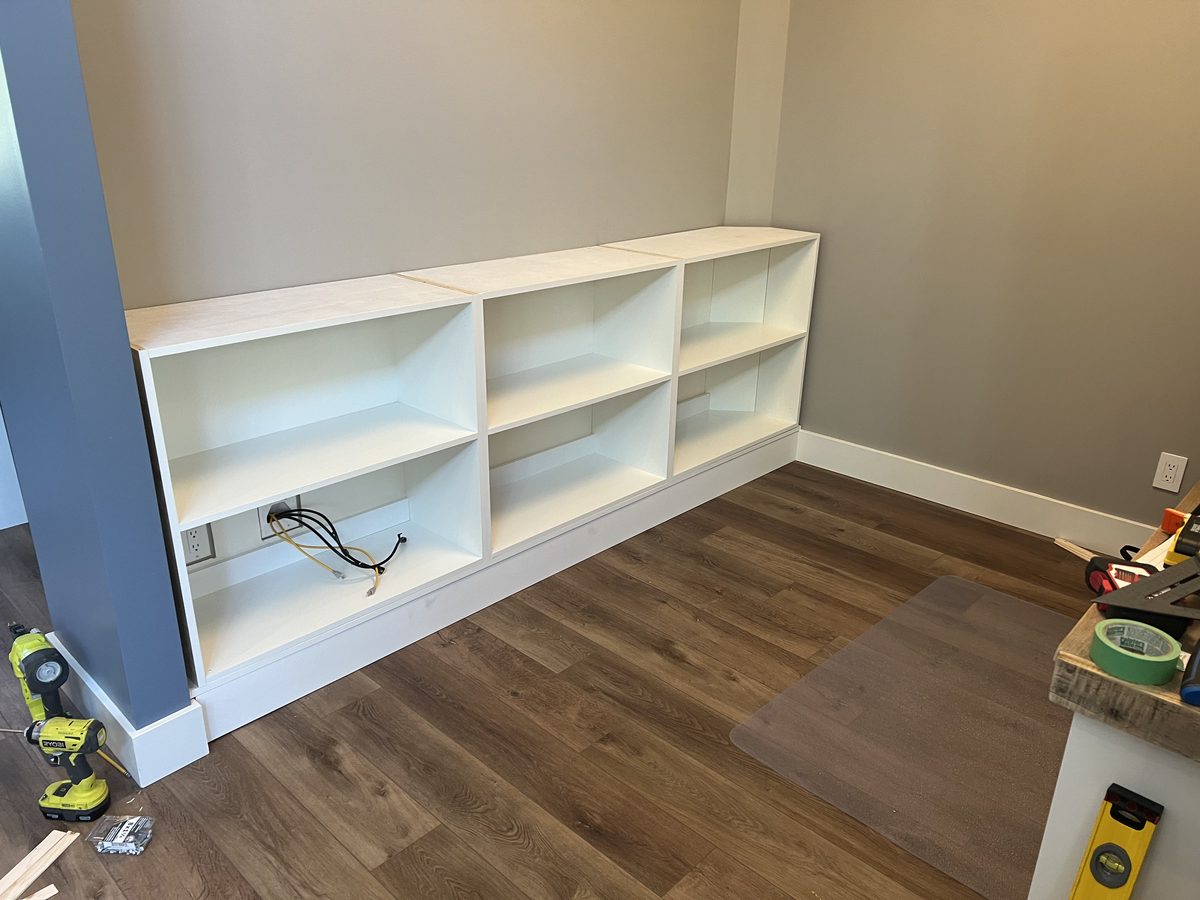
Once the model locked in, every cut could be calculated exactly — no surprises at the table saw.

Maple plywood sheets in the garage

Full sheets of paint grade maple plywood filling the Cambridge garage.

Phase 02

Breaking Down the Sheet Goods

I used paint grade maple plywood throughout — a step above construction-grade, with a smooth, consistent face veneer that takes primer and paint without bleeding through.

Full 4×8 sheets filled the garage quickly. The first job was breaking everything down to rough size with a track saw, then finishing to final dimension on the table saw. Every panel labelled, sorted by cabinet.

Multiple raw shaker door frames

A batch of raw shaker door frames — first time I'd ever built them.

Phase 03

Door Frames — a First

I'd never built door frames before. Shaker doors are deceptively simple — stiles and rails with a flat centre panel — but getting the proportions right, the rabbets clean, and the joints square takes patience.

I assembled them on a flat piece of foam board on the garage floor, checking every corner with a framing square. Track saw for the long rips, table saw for the precise cross cuts and rabbets.

By the end I had a full set — more than a dozen doors — stacked and waiting for paint.

"I assembled them at home in Cambridge, painted them in the garage, and then transported everything to the new house."

Painting cabinet pieces in the garage Painted doors and panels ready to transport

First coats in the garage (left) and the painted stack ready for transport (right).

Phase 04

Painting in the Garage

Benjamin Moore Advance is an alkyd-modified latex — it flows and levels like an oil paint but cleans up with water. The finish is worth it, but the process demands patience. Each coat needed 24 hours to cure before the next.

I painted every surface: inside the carcasses, the backs of shelves, the faces, the doors. Flat panels first, then edges. Doors hung on a wire across the garage to dry overnight.

By the time everything had its final coats, the garage looked like a very tidy cabinet shop.

Empty room before installation Base cabinets first in place

The empty room waiting (left) and the first base cabinets landed (right).

Phase 05

Moving Day

Everything travelled 45 minutes to the new house stacked in the truck — carefully. One ding in a finished panel and you're looking at another day of touch-up painting.

The install sequence matters: base cabinets go in first, levelled and shimmed to the floor. Once those are solid, the upper sections stack on top and tie into the wall.

The corner was the challenge I'd been planning around since SketchUp. A structural post wrapped in drywall meant the two sides of the unit had to meet at an imperfect angle. Scribing, shimming, and a bit of patience got it flush.

Full shelving structure assembled on-site

Full structure up and doors fitted — almost there.

Phase 06

Coming Together

Once the carcasses were secured to the wall, the upper sections lifted into place and the whole thing started to look like what I'd been building in my head for months.

Pocket hole joinery tied everything together — fast, strong, and hidden. Doors went on last, adjusted for consistent reveals and smooth swing. Hinges get a surprising amount of fine-tuning.

Standing in the room with the structure fully assembled was the moment it stopped being a project and started being a piece of the house.

Finished built-in shelving with black knobs Trevor celebrating in front of the finished shelves

Done. Black hardware, clean paint, and one very relieved builder.

Phase 07

Done.

Matte black knobs went on last — a simple, modern detail that contrasts with the white paint and anchors the whole look. Clean, intentional, and nothing like what a builder would have quoted.

The shelves fill the wall exactly as planned. The corner that worried me the most is invisible unless you're looking for it. Krista loves them.

First time building door frames. First time painting an entire cabinet set. First time scribing to an out-of-square corner on a live install. Not the last time for any of it.

← Back to Projects